

Before you start
- Confirm you are on the right job before editing or creating documents.
- Do not save, edit, invoice, or add visits when you are only reviewing.
- Use real US-market service names such as roofing, gutters, HVAC, or exterior painting.
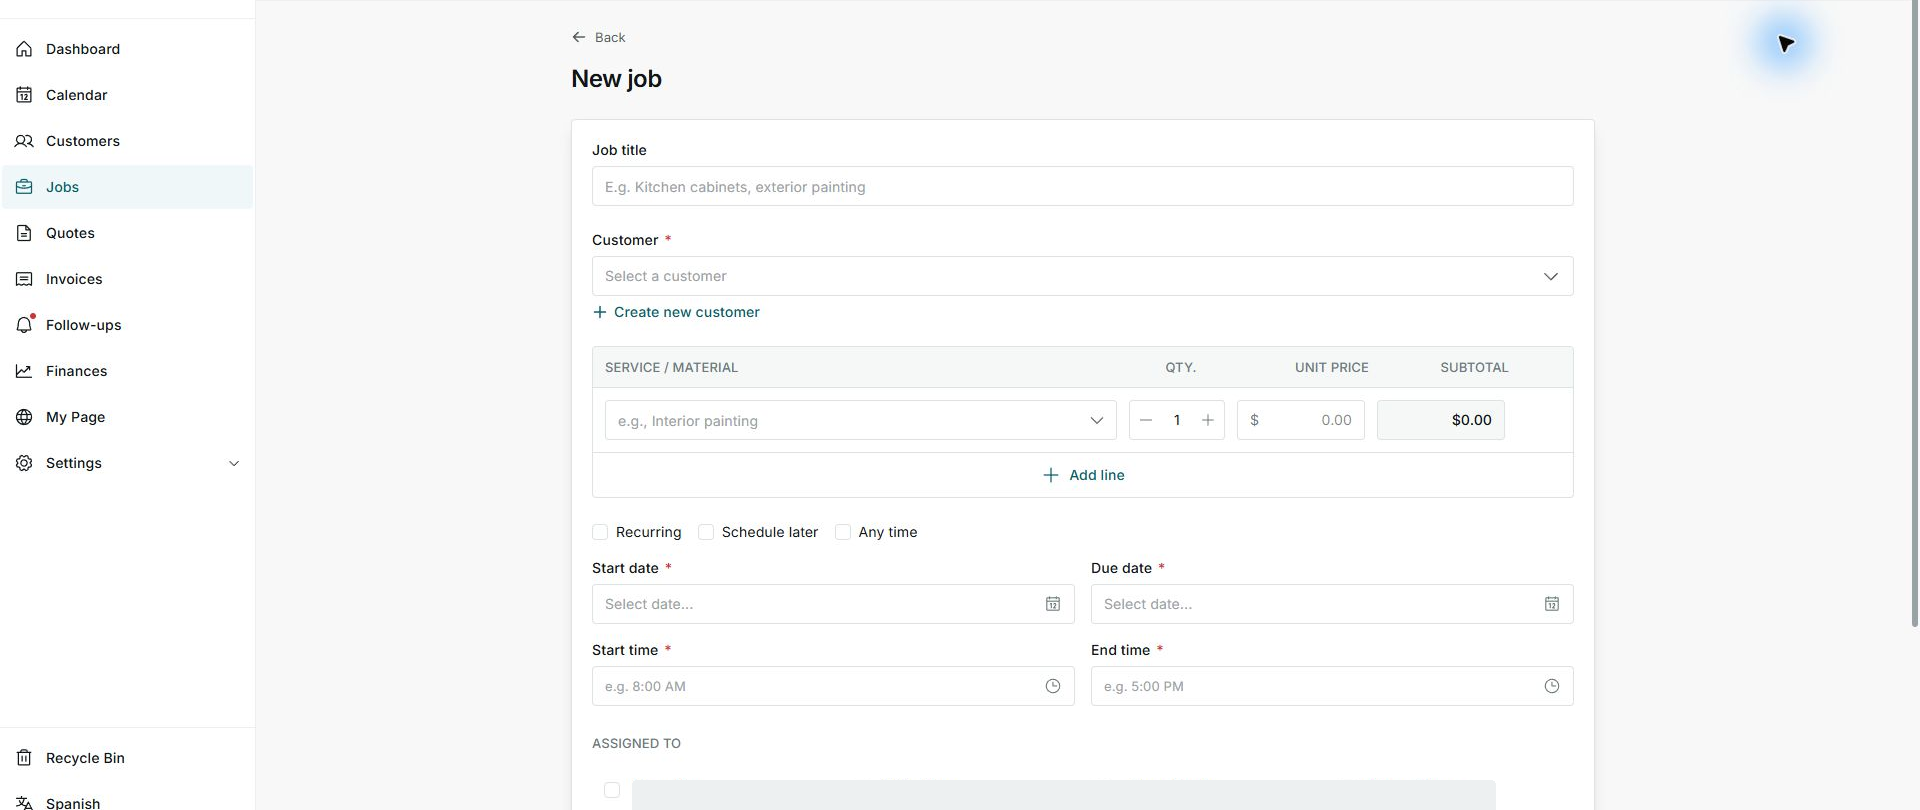
1. Open the job form
- Create a new job or open an editable job.
- Review customer, service, and dates before assigning.
- Find the Assigned to section.
2. Choose members
- Check each member who will participate.
- Leave unchecked anyone who should not receive the assignment.
- If you do not know the team, schedule first and assign later.
3. Confirm before saving
- Review that the right people are selected.
- Confirm date and time.
- Click Save only when the job is ready.
Statuses and options you may see
- Assigned
Meaning: The member is connected to the job.
Next step: They should review their schedule or assigned work.
- Unassigned
Meaning: No person is set for the job.
Next step: Assign before operations start when needed.
- Scheduled
Meaning: The job has a date or time.
Next step: Pair it with assignment to plan the day.
- Save
Meaning: Applies the assignment.
Next step: Do not click it when you are only reviewing.